Fun Recipes For Hot Summer Days!
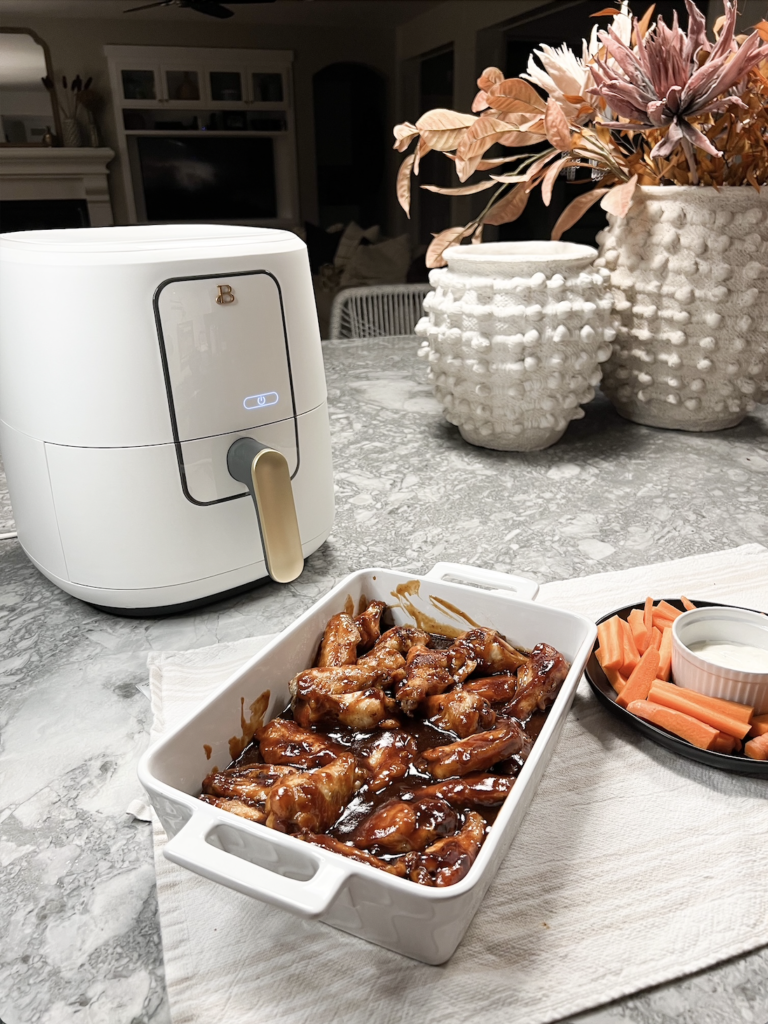
Welcome back to the blog! It’s probably either warming up or hot right now in most areas! I will be sharing some great summer recipes that the whole family will love. These are perfect to enjoy by the pool, hanging out in the backyard, or anywhere else!
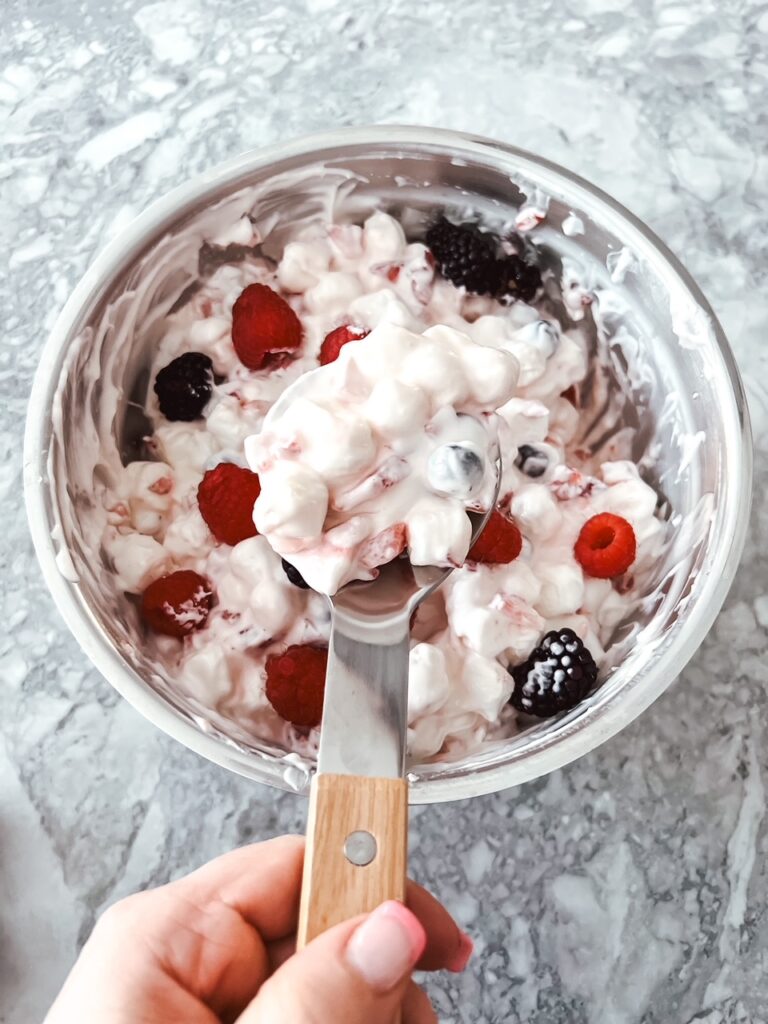
These frozen berry and yogurt swirls are perfect to enjoy on a hot Summer day! And your kids will love them and they are so simple to make!!
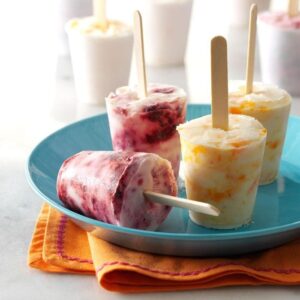
Frozen Berry & Yogurt swirls
Equipment
- 10 plastic or paper cups (3 ounces each)
Ingredients
- 10 paper or plastic cups (3 ounces each)
- 2-3/4 cups fat-free honey greek yogurt
- 1 cup mixed fresh berries
- 1/4 cup water
- 2 tbsp sugar
- 10 wooden pop sticks
Instructions
- Fill each cup with about 1/4 cup yogurt. Place berries, water and sugar in a food processor; pulse until berries are finely chopped. Spoon 1-1/2 tablespoons berry mixture into each cup. Stir gently with a pop stick to swirl.
- Top cups with foil; insert pop sticks through foil. Freeze until firm.
Notes
For Frozen Clementine & Yogurt Swirls: Substitute 1 cup seeded clementine segments (about 5 medium) and 1/4 cup orange juice for berries, water and sugar; proceed as directed.
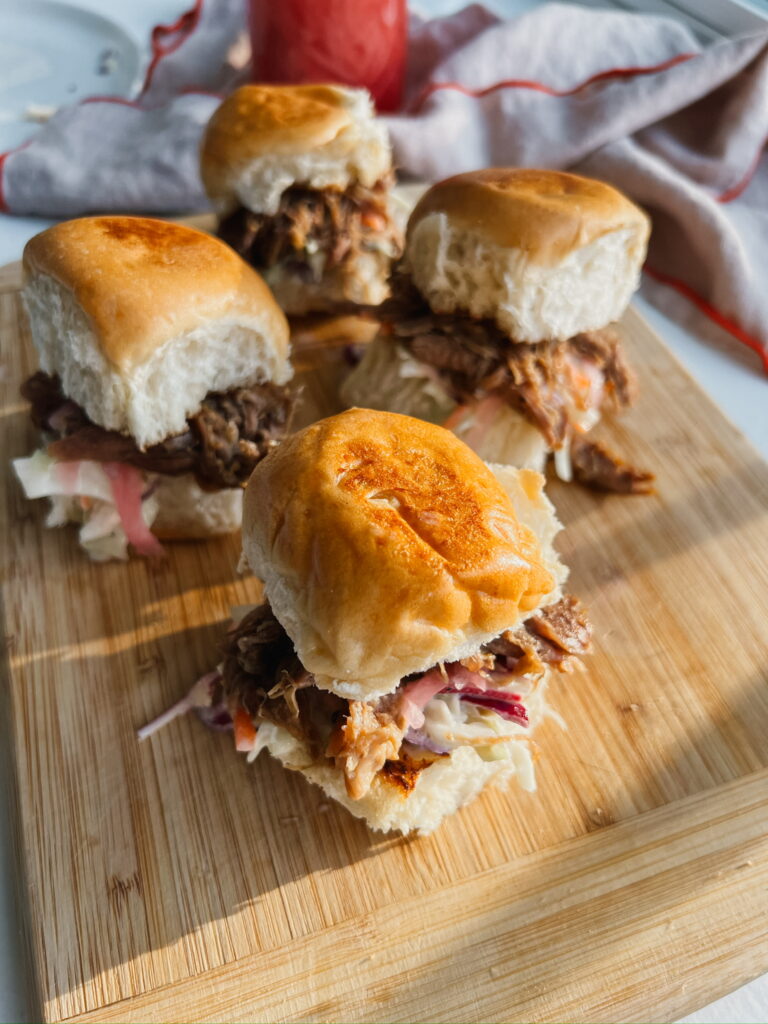
Try these beef sliders! They are great for BBQ’s on Summer nights for the whole family!
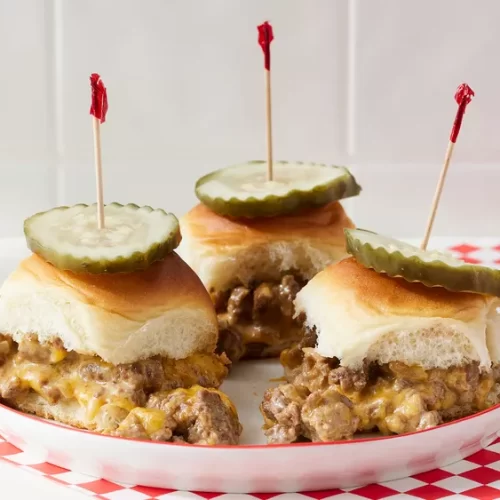
Slider-Style Mini Burgers
Ingredients
- cooking spray
- 2 lbs ground beef
- 1 (1.25 ounce) envelope onion soup mix
- 2 cups shredded cheddar cheese
- 1/2 cup mayonaise
- 24 dinner rolls, split
- 1/2 cup sliced pickles (optional)
Instructions
- Gather the ingredients.
- Preheat the oven to 350 degrees F (175 degrees C). Cover a baking sheet with aluminum foil and grease with cooking spray. Grease a sheet of aluminum foil; set aside.
- Mix together ground beef and onion soup mix in a large skillet; cook and stir over medium-high heat until beef is crumbly and evenly browned, 5 to 7 minutes. Drain and discard any excess grease.
- Remove the skillet from heat; stir in Cheddar cheese and mayonnaise.
- Place roll bottoms on the prepared baking sheet. Spread beef mixture onto each bottom. Cover with tops. Cover sandwiches with the prepared sheet of aluminum foil.
- Bake in the preheated oven until burgers are heated through and cheese is melted, about 30 minutes.
- Serve with sliced pickles and enjoy!
This S’mores cookie bar is a must try! It’s perfect for nights outside by the fire pit or make this ahead of time before a Summer camping trip!
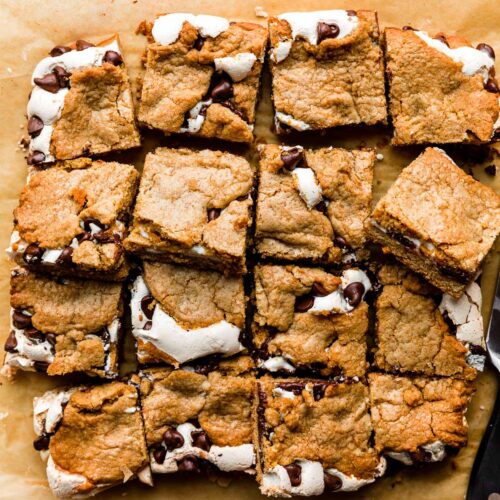
S’mores Cookie Bars
Ingredients
- 1/2 cup unsalted butter, softened to room temperature
- 3/4 cup packed light or dark brown sugar
- 1 large egg at room temperature
- 1 tsp pure vanilla extract
- 1 cup all purpose flour (spooned and leveled)
- 1 cup graham cracker crumbs (about 8 full sheet graham crackers)
- 1/2 tsp baking powder
- 1/4 tsp salt
- 1 cup semi sweet chocolate chips
- 1 heaping cup marshmallow creme (store bought "Fluff")
Instructions
- Preheat oven to 350°F (177°C). Line an 8-inch square baking pan or 9-inch square baking pan with parchment paper, leaving enough overhang on the sides to easily remove the bars when they have cooled. Set aside.
- In a large bowl using handheld or stand mixer fitted with a paddle attachment, cream the butter and brown sugar together on medium-high speed, about 2 minutes. Add the egg and vanilla extract and beat until combined. Scrape down the sides and up the bottom of the bowl as needed. Mixture may appear curdled and that’s ok.
- Whisk the flour, graham cracker crumbs, baking powder, and salt together in a medium bowl. Pour the flour mixture into the wet ingredients and then beat on medium speed until combined.
- Press/spread 2/3 of the graham cookie dough into prepared pan. (Doesn’t have to be exact, just eyeball it.) It will be a thin layer and the dough is sticky, so use your hands if needed. Spread the marshmallow creme evenly on top. This will be tricky since the marshmallow creme is sticky, but do the best you can to get an even layer. Layer chocolate chips evenly on top. Mold the remaining cookie dough into flat pieces and layer on top of the chocolate chips, as pictured and shown in the video above. You won’t have enough dough to make one single layer, so some chocolate chips/marshmallow will be exposed.
- Bake the bars for 25-30 minutes or until the top is lightly golden brown. Remove from the oven and place the pan on a wire rack. Cool bars completely.
- Lift the bars out using the parchment paper overhang on the sides. Cut into squares.
- Cover and store leftover bars at room temperature for up to 1 week.
Notes
- Freezing Instructions: To freeze, cool bars completely. Cut into squares and layer between sheets of parchment paper in a freezer-friendly container. Freeze up to 3 months. Thaw overnight in the refrigerator then bring to room temperature before serving.
- Homemade Marshmallow Creme: You can use homemade marshmallow creme for this recipe. You only need a half batch, which yields just under 2 cups. Halve all of the ingredients and follow the same instructions. Use 1 and 1/4 cups in this recipe. (Enjoy the rest!)
- Can I use regular marshmallows? No, do not use marshmallows in lieu of the marshmallow creme. The marshmallows will melt into the dough, disappear, and create unpleasant looking “craters” in the finished bars—you won’t really even taste them. Use marshmallow creme because it stands up to the oven’s heat.
- Can I make these in a 9×13-inch pan? Yes. Double the recipe by doubling each ingredient. Bake time is around 35-38 minutes.
- Non-US Readers: If you can’t find graham crackers where you live, you can substitute ground digestive biscuit crumbs instead.
Thank you for visiting the blog! While you are here be sure to subscribe to the blog and be sure to subscribe to my weekly newsletter!